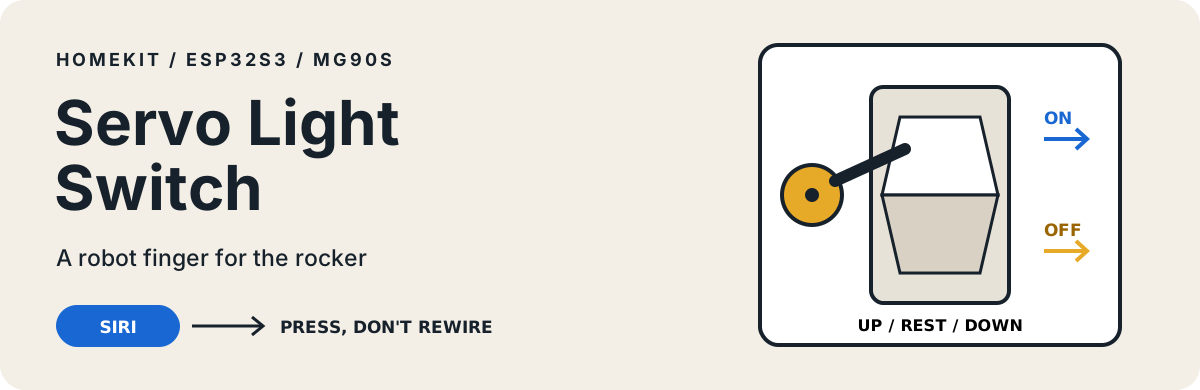
Keep the switch. Add a robot finger.
Siri talks to a XIAO ESP32S3; an MG90S servo presses the real rocker on or off.
“Hey Siri, turn on the light.”
demolight.mp4
This is a small, intentionally mechanical HomeKit accessory. It does not replace mains wiring or hide a relay behind the wall. The servo moves the same switch you already use.
New to soldering? Start with SOLDERING.md. The build needs only three board connections.
Signal path
Siri → Apple Home → HomeSpan on ESP32S3 → MG90S servo → rocker paddle
For every command, the servo leaves its neutral position, presses the appropriate half of the rocker, returns to center, and detaches so it does not buzz while idle.
Parts
Seeed Studio XIAO ESP32S3 (the Sense version also works)
MG90S micro servo
USB-C wall power, at least 1 A; 2 A gives more headroom for servo current spikes
Wire and a rigid mount beside the switch plate
Optional 470–1000 µF electrolytic capacitor across servo 5 V and GND
Attach the XIAO’s external 2.4 GHz antenna. The Sense camera and microphone are not used.
Wire three connections
MG90S wire
XIAO ESP32S3 pad
Purpose
Red
5V
Servo power
Brown
GND
Common ground
Orange
D1 / GPIO2
PWM signal
The signal remains 3.3 V logic while the servo uses 5 V power. If you add an electrolytic capacitor, connect its striped negative leg to GND.
The D1 pad is GPIO2 on the ESP32S3. It was GPIO3 on the older XIAO ESP32C3, so do not copy the old pin number.
Mount the mechanism
             servo arm
                  │
          ┌───────▼───────┐
ON   ◀────│       ▲       │  press the top half
          │ ─── neutral ─ │  rest clear of the paddle
OFF  ◀────│       ▼       │  press the bottom half
          └───────────────┘
Place the servo pivot roughly level with the middle of the rocker. The horn must reach both halves while clearing the paddle at the rest angle. Use a rigid bracket, strong foam tape, or mounting strips so the arm has enough leverage.
Open servo-light-switch/servo-light-switch.ino and use these board settings:
Setting
Value
Board
XIAO_ESP32S3
USB CDC On Boot
Enabled
PSRAM
OPI PSRAM
Partition scheme
Default
If the board does not appear for flashing, hold BOOT, tap RESET, then release BOOT.
First pairing
Flash the sketch.
Open Serial Monitor at 115200 baud with newline endings.
Enter W and follow HomeSpan’s prompts for a 2.4 GHz Wi-Fi network.
In the iPhone Home app, choose Add Accessory and select Wall Light.
Enter HomeSpan’s displayed setup code. The default is 466-37-726.
The Home app may label a DIY HomeSpan accessory as uncertified.
Calibrate the press
Tune the geometry constants near the top of the sketch:
Constant
Default
Role
SERVO_REST_ANGLE
90°
clears both halves
SERVO_ON_ANGLE
130°
presses the top half
SERVO_OFF_ANGLE
50°
presses the bottom half
PRESS_HOLD_MS
250 ms
holds the paddle
SERVO_PIN
GPIO2
D1 on the XIAO
Find a clear rest position first. Move the on/off angles outward only until the switch flips cleanly. If the servo stalls, slams, or buzzes against the paddle, move that angle back toward rest.
If Siri’s on and off directions are reversed, swap SERVO_ON_ANGLE and SERVO_OFF_ANGLE.
Behavior and limits
HomeKit’s last commanded state is stored in NVS and survives a reboot.
Repeating a command is safe: the arm simply presses the same side again.
The board reboots after Wi-Fi has been unavailable for 60 seconds.
There is no sensor on the physical rocker. If someone flips it by hand, HomeKit cannot detect the change; send the opposite command or toggle twice to resynchronize.
This is a low-voltage add-on mounted outside the wall plate. Do not open or modify mains wiring for this build.